- Home
- Hand embroidery for beginners
- Common Mistakes
Embroidery Tips for Beginners - Easy Fixes for Common Mistakes
You’ve picked up your needle, chosen your fabric, and started stitching… but why is your thread turning into a tangled mess?
Why do your stitches look wobbly instead of neat and even?
Don’t worry—it happens to all of us!
This guide is here to help you fix common beginner embroidery mistakes, so you can spend more time stitching and less time fighting with your thread.
We’ll cover how to prevent knots, stop fabric from puckering, and get those stitches looking smooth and even!
🧵 Brand New to Embroidery?
Why Embroidery Feels Hard at First (And Why That’s Normal!)
Embroidery looks effortless when you watch someone else do it, but what you don’t see are the bits they edit out—the tangled knots, the unpicking, the moments of frustration. Even experienced stitchers mess up!
Recognize the following beginner embroidery mistakes?
- Your thread keeps tangling into knots.
- Your stitches look like a drunken spider did them.
- You followed a tutorial, but it moved at lightning speed.
- You have no clue how to fix a mistake without starting over.
- You feel like your embroidery isn’t "good enough".
Don't worry this doesn’t mean you’re bad at embroidery—it just means no one has shown you the easy fixes yet.
Let’s sort that out now by checking out how to fix embroidery errors.
Five Simple Fixes Every Beginner Should Know
Most embroidery struggles come down to a handful of common problems. The good news? They’re easy to fix once you know how!
1. Why Does My Embroidery Thread Keep Tangling?
Tangled threads can be a common frustration for beginners, but with a few mindful practices, you can minimize this issue:
✅ Choose the right thread: Select thread that matches your fabric type. For example, cotton threads pair well with cotton fabrics, while silk threads are suitable for delicate materials.
✅ Use shorter lengths - Cutting your thread too long can lead to tangles. Aim for lengths between 12 to 18 inches; longer threads are more prone to twisting and knotting..
✅ Let your needle dangle - Periodically pause your stitching to let the needle hang freely. This allows the thread to untwist naturally, preventing knots.
✅ Try thread conditioner - Applying a thread conditioner or beeswax can reduce friction and static, helping the thread glide smoothly through the fabric.
Quick fix: If a knot starts to form, avoid pulling it tight. Instead, slide your needle under the loop and gently tease it apart to prevent tightening the knot.
By incorporating these practices, you can achieve a smoother stitching experience with fewer tangles.
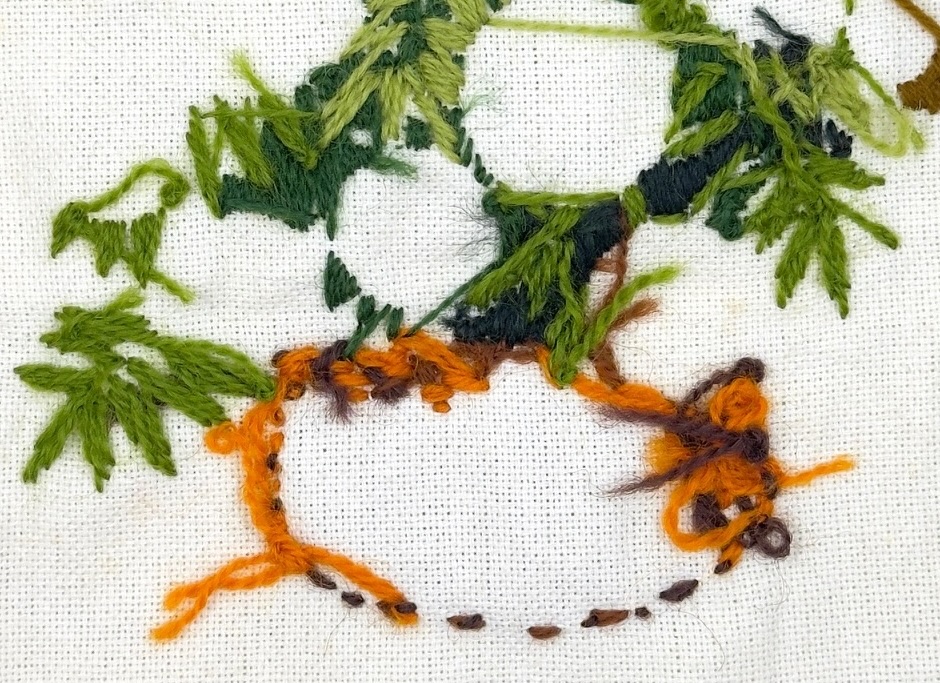 Take care, or your tangled threads can form knotted lumps on the back of your work. An unfinished project from my teenage years.
2. How Do I Make My Embroidery Stitches Neat?
If your stitches are all over the place, try these small tweaks:
✅ Check your hoop tension—Fabric should be drum-tight. Loose fabric leads to wobbly stitches.
✅ Slow down—Stitching too fast makes it harder to control your tension.
✅ Use both hands—One for the needle, one for guiding the thread.
Quick fix: If your stitches still look a bit wobbly, grab a scrap piece of fabric and practice. Your hands will soon get the hang of it!
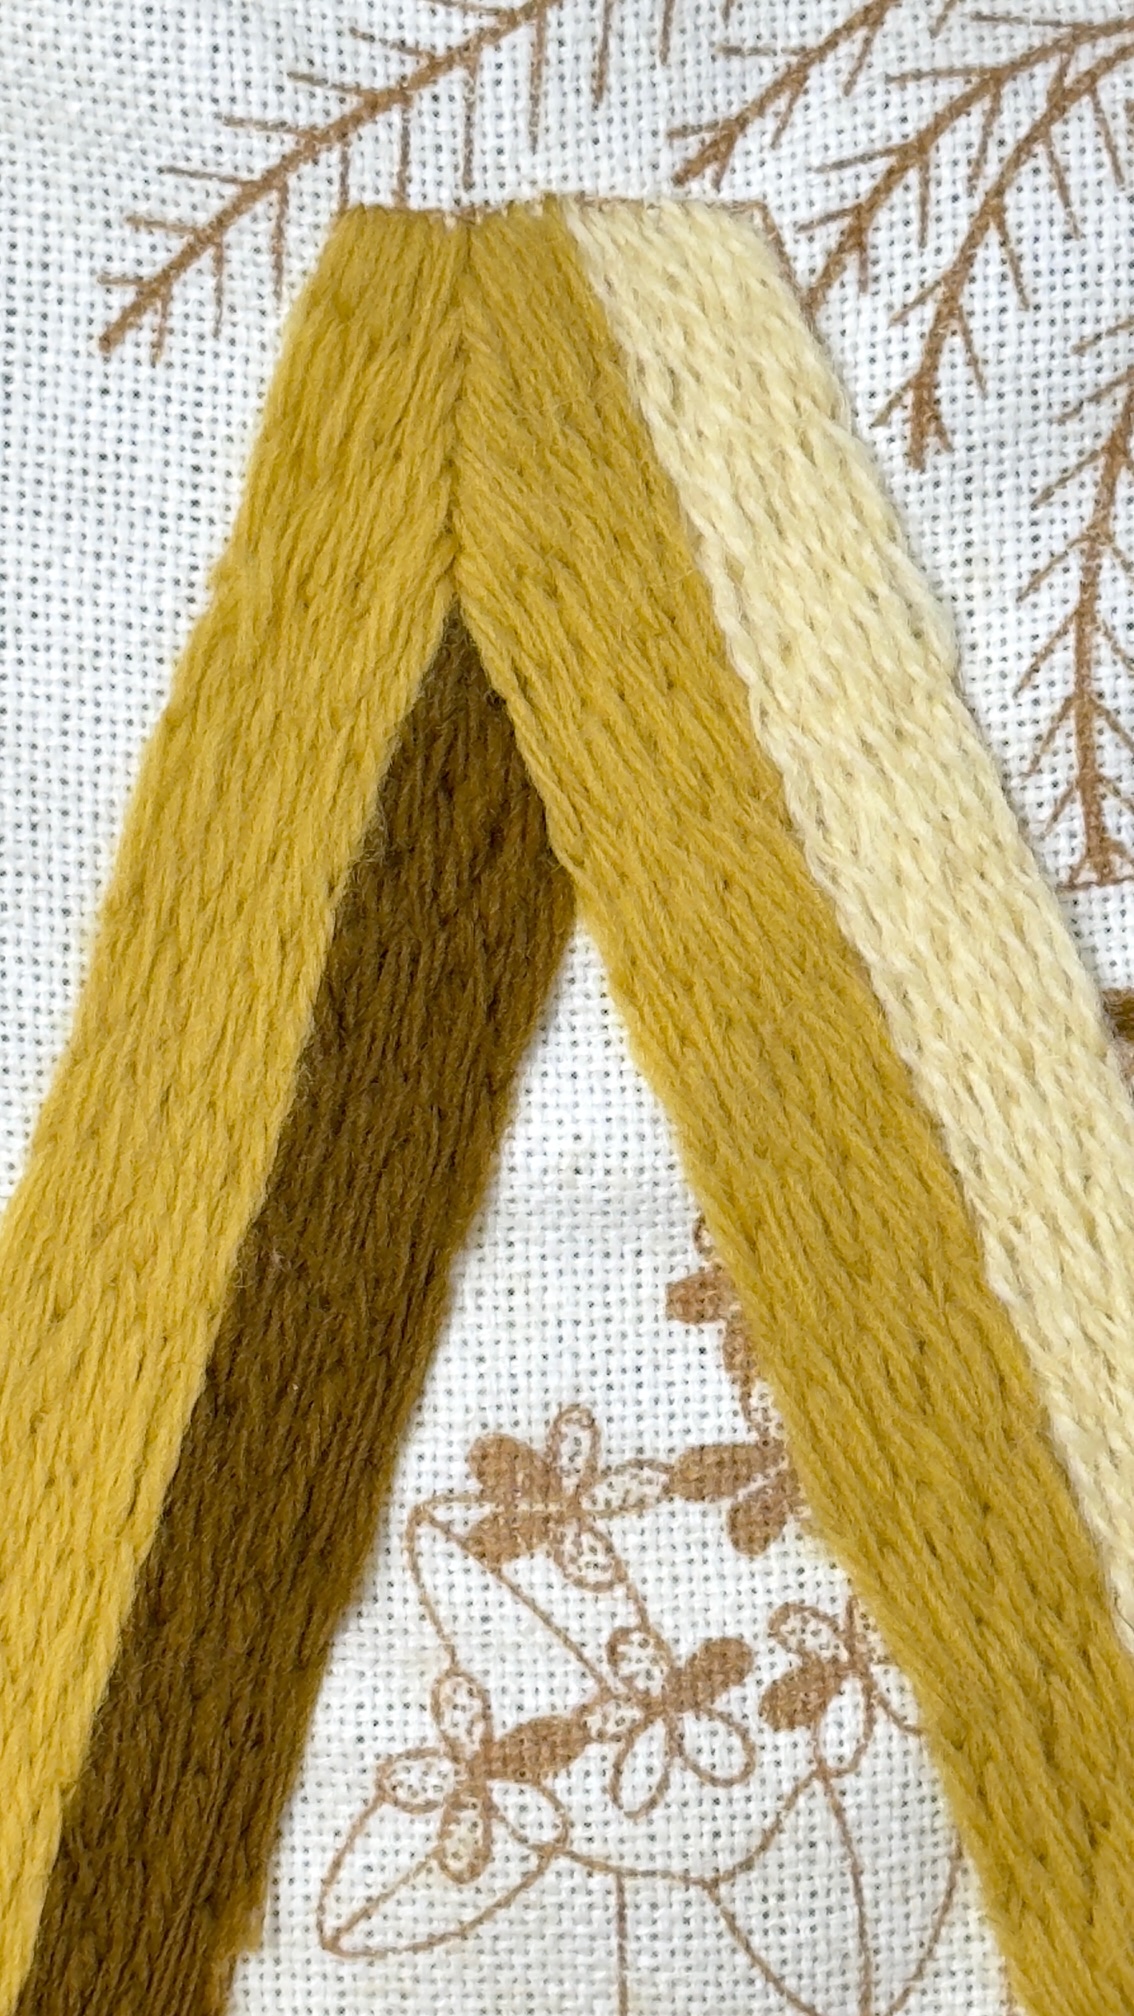 If your stitches are depicting a rough surface, don't worry if they are wonky.
3. Why Does My Fabric Pucker When I Stitch?
Puckering occurs when your fabric bunches up around your stitches, distorting your design. To prevent and fix this issue, consider the following tips:
✅ Choose the Right Fabric: - Select a fabric suitable for your embroidery technique. Tightly woven fabrics like linen or cotton provide a stable foundation, reducing the risk of puckering.
✅ Use a hoop or frame - Securing your fabric in an embroidery hoop or frame keeps it taut, preventing movement that can lead to puckering.
✅ Avoid Over-Tightening Stitches: Pull your stitches snugly but not too tight. Over-tightening can cause the fabric to gather and pucker.
✅ Remove Fabric from Hoop Between Sessions: When you're not stitching, release your fabric from the hoop to prevent permanent marks and uneven tension
✅ Iron it out - A light mist of water and a quick press with an iron can help flatten minor puckers.
Quick fix: Delicate fabrics like linen or silk may need a fusible stabilizer on the back to keep them from shifting.
Fixing Puckered Fabric
✅ Damp Stretching: Lightly wet the puckered area using a spray bottle, then stretch the fabric gently and pin it to a flat surface. Allow it to dry completely before unpinning.
✅ Ironing: Place your embroidery face down on a clean towel and press gently with a warm iron. This can help flatten minor puckers.
By implementing these practices, you can maintain smooth, flat fabric and achieve a polished finish in your embroidery projects.
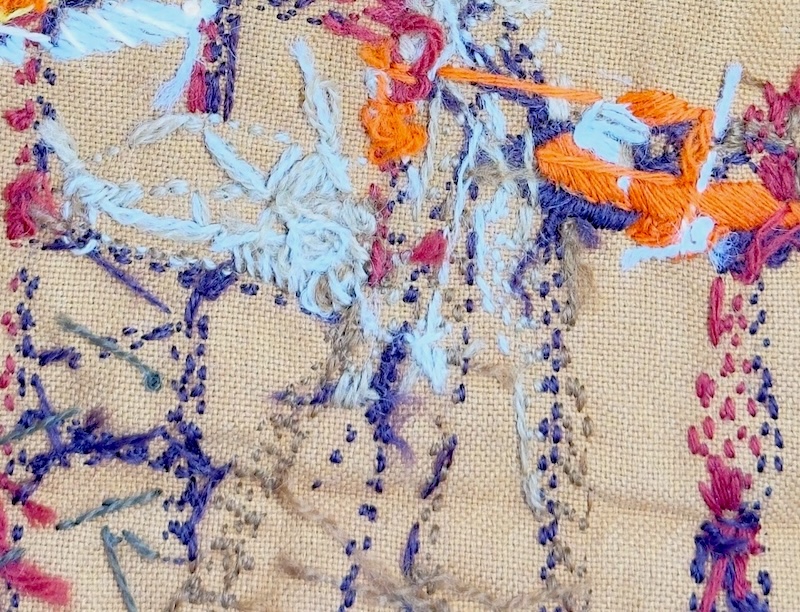 The back view of an early piece of my work, showing knots, tangles uneven stitches and puckers
4. My Needle Keeps Slipping Out of the Thread
Tired of rethreading your needle every five minutes? Try this:
✅ Use a smaller needle - A smaller eye holds the thread better.
✅ Tie a tiny knot near the eye - Just enough to stop it slipping.
Quick fix: If you're using slippery thread (like silk or metallic), double it and make a loop at the end for extra security.
5. I Keep Making Mistakes & Don’t Know How to Fix Them
Mistakes happen (often), but you don’t always have to unpick everything!
✅ Stitch over it - If the mistake is small, cover it up with another stitch.
✅ Make it part of the design - A misplaced stitch can become a happy accident.
✅ Unpick carefully - If you do need to remove stitches, use a seam ripper or small scissors to avoid damaging the fabric.
Quick fix: Before unpicking, ask yourself, "Will I even notice this in the finished piece?" Often, tiny mistakes disappear once the full design comes together.
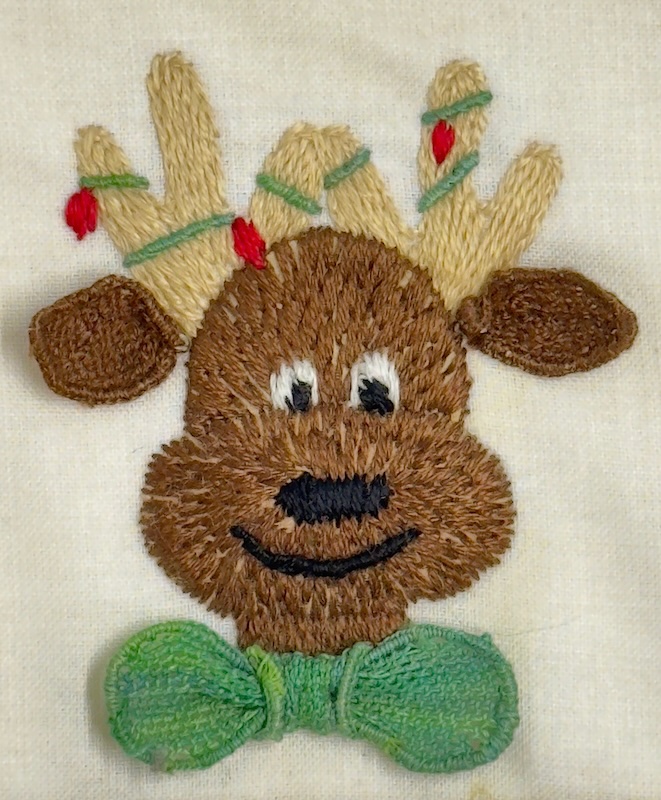 If your stitches are sparse, work another layer on top to fill in the gaps. Here it would have added to the padded effect of my stumpwork reindeer. But I do quite like the furry effect I achieved by mistake.
Imperfect Stitches: Why "Messy" Can Be Beautiful
Ever looked at your embroidery and thought, “This just doesn’t look right”?
But what if those little imperfections make your work special?
💛 Handmade should look handmade. Machine-perfect stitches can feel lifeless. Yours have character!
💛 Your style is in your stitching. No two embroiderers stitch exactly the same way - that’s what makes your work unique.
💛 Most “mistakes” disappear in the full design. Tiny wobbles won’t stand out once the whole piece is finished.
Instead of asking, "Is this perfect?" try asking:
- Does this embroidery make me happy?
- Does it tell a story?
- Would I even notice this mistake if I weren’t looking for it?
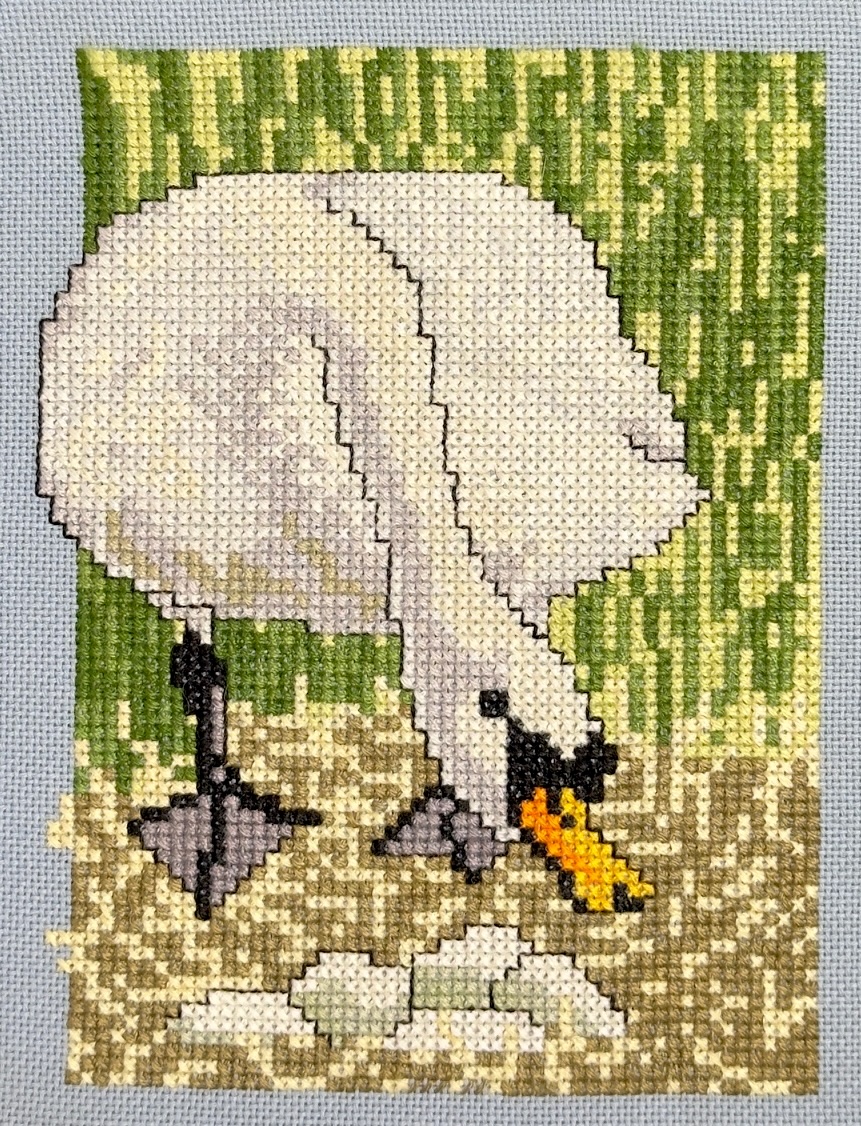 Can you see the "ugly" area of feathers without zooming in?
A Quick Challenge for You
Find a piece of embroidery you tried but weren’t happy with.
Instead of focusing on what went wrong, find three things you love about it. Maybe the colours, a section where the stitches flowed nicely, or simply the fact that you finished it.
Once you stop chasing perfection, embroidery becomes a lot more fun.
How to Restart Embroidery with Less Stress
Now that you know how to fix the common frustrations, let’s make embroidery easier this time around.
- Pick a simple, no-stress project - a little flower, heart, or geometric shape.
- Use just 2-3 stitches - backstitch, satin stitch, and French knots are great for confidence-building.
- Try 10-minute stitch sessions - short, relaxed practice instead of marathon stitching.
- Focus on progress, not perfection - enjoy the process, and the improvement will come naturally.
To make this super-simple for you, read on...
Get Started Today!
Embroidery isn’t about perfect stitches—it’s about creating, learning, and enjoying the process.
- You don’t need natural talent.
- You don’t need perfect stitches.
- You just need to start again with the right approach.
So, what do you say? Time to pick up that needle and give it another go?
🌿 Stitch Your Own Freehand Tree! 🌿
Want to add a unique, personal touch to your embroidery? This beginner-friendly pattern gives you the freedom to stitch without rigid guidelines—just a simple tree that grows however you want it to!
Sign up below to get your FREE printable embroidery pattern straight to your inbox. 🎁
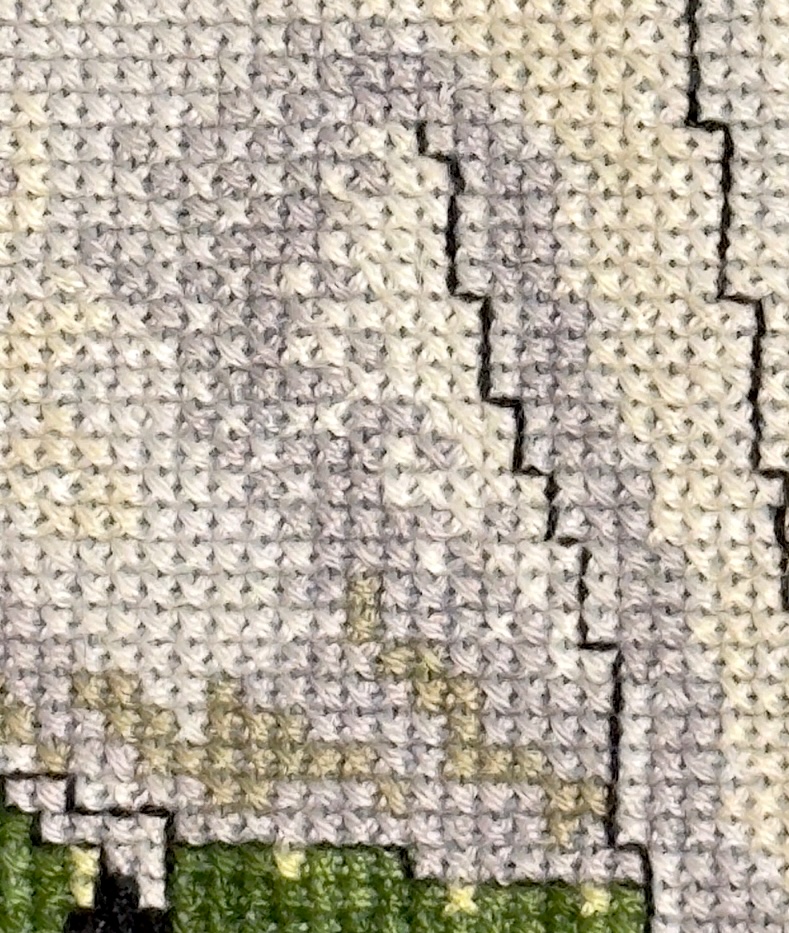 Did you spot the messy stitching on my swan design earlier? Here's a closer view.
Stay connected between projects
If you’d like occasional updates from my embroidery room, including new patterns, gentle tips, and little things I think you might enjoy, you’re warmly invited to join the Stitchin’ Times newsletter.